Introduction
Rubber band bracelets, once a childhood pastime, have made a remarkable comeback in recent years. What was once a simple playground craft has evolved into a creative outlet for people of all ages. From basic single-loop bracelets to intricate designs, the possibilities are endless. In this article, we’ll explore the Rubber Band Revolution and discover five easy techniques for creating custom bracelets that reflect your unique style.
The Resurgence of Rubber Band Bracelets
Rubber band bracelets first gained popularity in the early 2000s, with the iconic “Silly Bandz” becoming a sensation among children and teenagers. However, like many fads, their popularity waned over time. Yet, in the past few years, rubber band bracelets have experienced a resurgence, thanks in part to social media platforms like Instagram and TikTok. DIY enthusiasts and crafters have embraced this trend, sharing their creations and inspiring others to join the rubber band revolution.
Getting Started: Essential Tools and Materials
Before diving into bracelet making, it’s essential to gather the necessary tools and materials. All you need are rubber bands, a loom (optional), and a hook tool. Rubber bands come in a variety of colors and sizes, allowing for endless customization. While a loom can make the bracelet-making process easier, it’s not essential. A simple hook tool, which resembles a crochet hook, is used to manipulate the rubber bands and create the bracelet.
Technique #1: Basic Single-Loop Bracelet
The basic single-loop bracelet is the foundation of rubber band bracelet making. It’s simple yet versatile, making it perfect for beginners. To create this bracelet, start by placing a rubber band on your hook tool, then twist it to form a figure-eight shape. Next, slide another rubber band onto the hook and pull it through the first band, creating a loop. Continue this process, alternating colors if desired, until the bracelet reaches the desired length. Finish by securing the ends with a clip or knot.

Technique #2: Double-Loop Bracelet
Building upon the single-loop technique, the double-loop bracelet adds an extra layer of complexity and visual interest. Begin by placing two rubber bands on your hook tool, then twist them together to create a double loop. Slide another pair of rubber bands onto the hook and pull them through the double loop. Continue alternating colors and repeating this process until the bracelet is complete. The result is a thicker, more substantial bracelet with a unique texture.
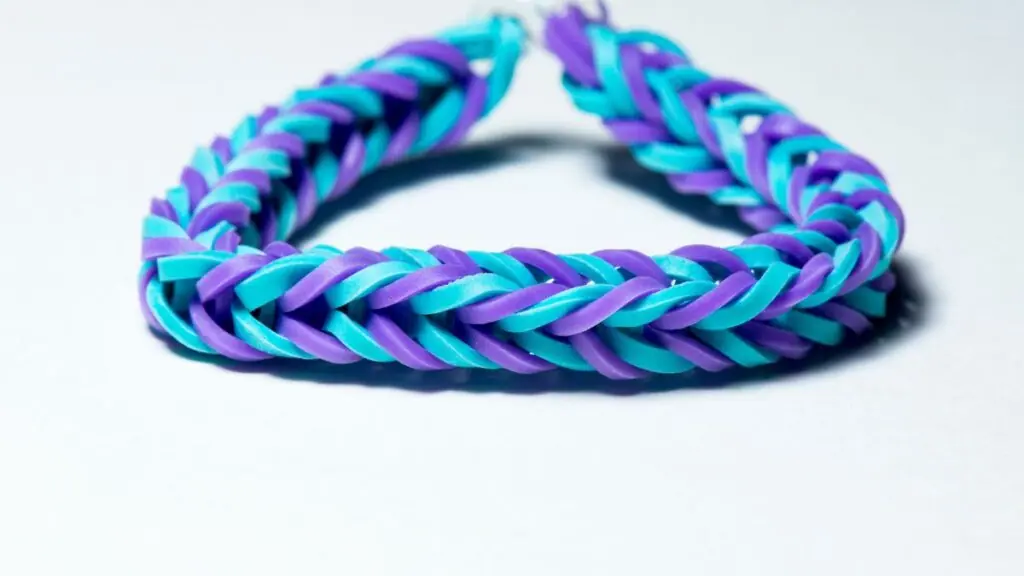
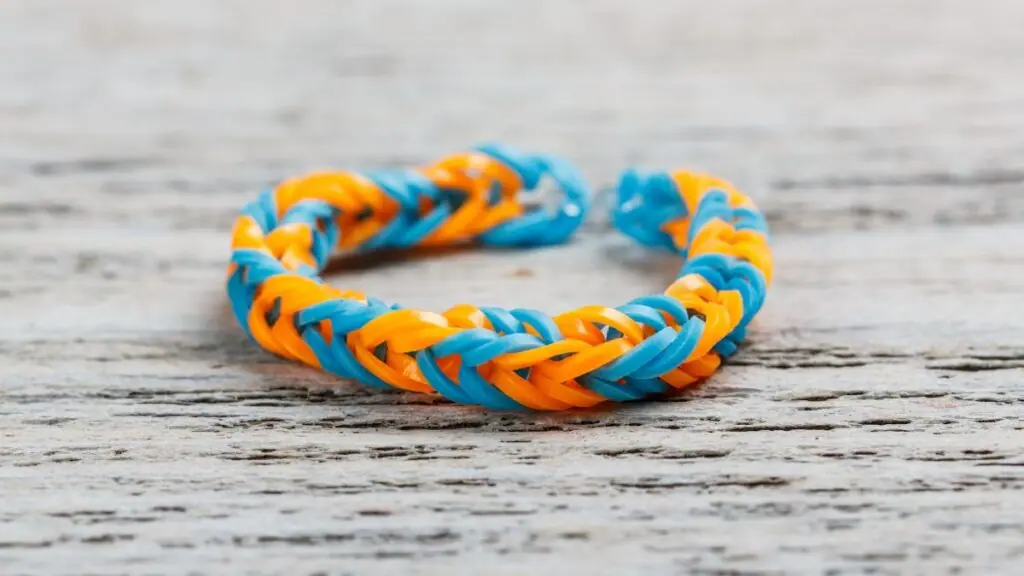
Technique #3: Fishtail Bracelet
The fishtail bracelet is a popular variation that features a distinctive woven pattern resembling fish scales. To make this bracelet, start by placing two rubber bands on your hook tool, then twist them to form a figure-eight shape. Next, slide another rubber band onto the hook and pull it through the first two bands, creating a loop. Repeat this process, alternating colors if desired, until the bracelet is long enough to wrap around your wrist. Finish by securing the ends with a clip or knot.
Technique #4: Rainbow Loom Bracelet
The Rainbow Loom bracelet is a classic design created using a specialized loom tool. To make this bracelet, place rubber bands onto the loom in a specific pattern, then use the hook tool to weave them together. While this technique may seem intimidating at first, there are countless tutorials and patterns available online to guide you through the process. Experiment with different color combinations and patterns to create your unique Rainbow Loom masterpiece.
Technique #5: Braided Rubber Band Bracelet
For a more intricate look, try your hand at a braided rubber band bracelet. Start by dividing your rubber bands into three equal sections, then braid them together as you would hair. Once you reach the desired length, secure the ends with a clip or knot. This technique offers endless possibilities for customization, as you can mix and match colors and textures to create a truly unique bracelet.
Advanced Tips for Customization
Once you’ve mastered the basic techniques, it’s time to take your bracelet making to the next level with advanced customization options. Experiment with different color combinations, gradients, and patterns to create one-of-a-kind designs. You can also add charms, beads, and other embellishments to personalize your bracelets further. Let your imagination run wild and create bracelets that reflect your personality and style.
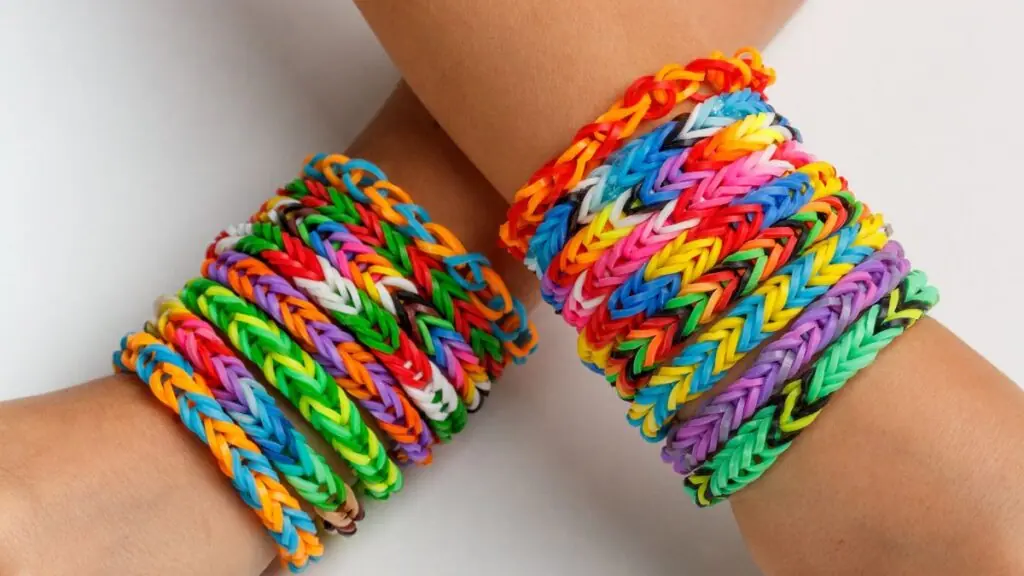
Exploring Color Combinations
The beauty of rubber band bracelets lies in their vibrant colors and endless combinations. Experiment with contrasting colors for a bold look or stick to monochromatic tones for a more subtle style. You can also create gradient effects by transitioning from one color to another gradually. Don’t be afraid to mix and match colors to create unique and eye-catching designs that stand out from the crowd.
Adding Charms and Embellishments
Take your bracelets to the next level by adding charms, beads, and other embellishments. Charms are small decorative pendants that can be attached to your bracelet using jump rings or clips. Beads can be threaded onto the rubber bands themselves or added as accents between loops. Get creative and personalize your bracelets with charms and embellishments that reflect your interests, hobbies, and personality.
Troubleshooting: Common Problems and Solutions
While making rubber band bracelets is relatively straightforward, you may encounter some common issues along the way. From bands breaking to bracelets coming apart, these problems can be frustrating but easily resolved with the right techniques. Always use high-quality rubber bands and avoid stretching them too tightly to prevent breakage. If a bracelet does come apart, simply reattach the ends and secure them with a clip or knot.
Conclusion
In conclusion, rubber band bracelets offer a fun and creative way to express yourself and unleash your imagination. Whether you’re a beginner or seasoned crafter, there’s something for everyone in the Rubber Band Revolution. With five easy techniques and endless customization options, the possibilities are truly limitless. So gather your supplies, get creative, and join the rubber band revolution today!

FAQs
Q1: Do I need a loom to make rubber band bracelets?
A1: While a loom can make the bracelet-making process easier, it’s not essential. You can create beautiful bracelets using just a hook tool and rubber bands.
Q2: Where can I find rubber band bracelet tutorials?
A2: There are countless tutorials available online, including video tutorials on platforms like YouTube and written tutorials on crafting websites and blogs.
Q3: Can I add charms and embellishments to my rubber band bracelets? A3:
Yes, you can personalize your bracelets with charms, beads, and other embell